Table of Contents
Benefits of Adding LED Lights to Your Mirror 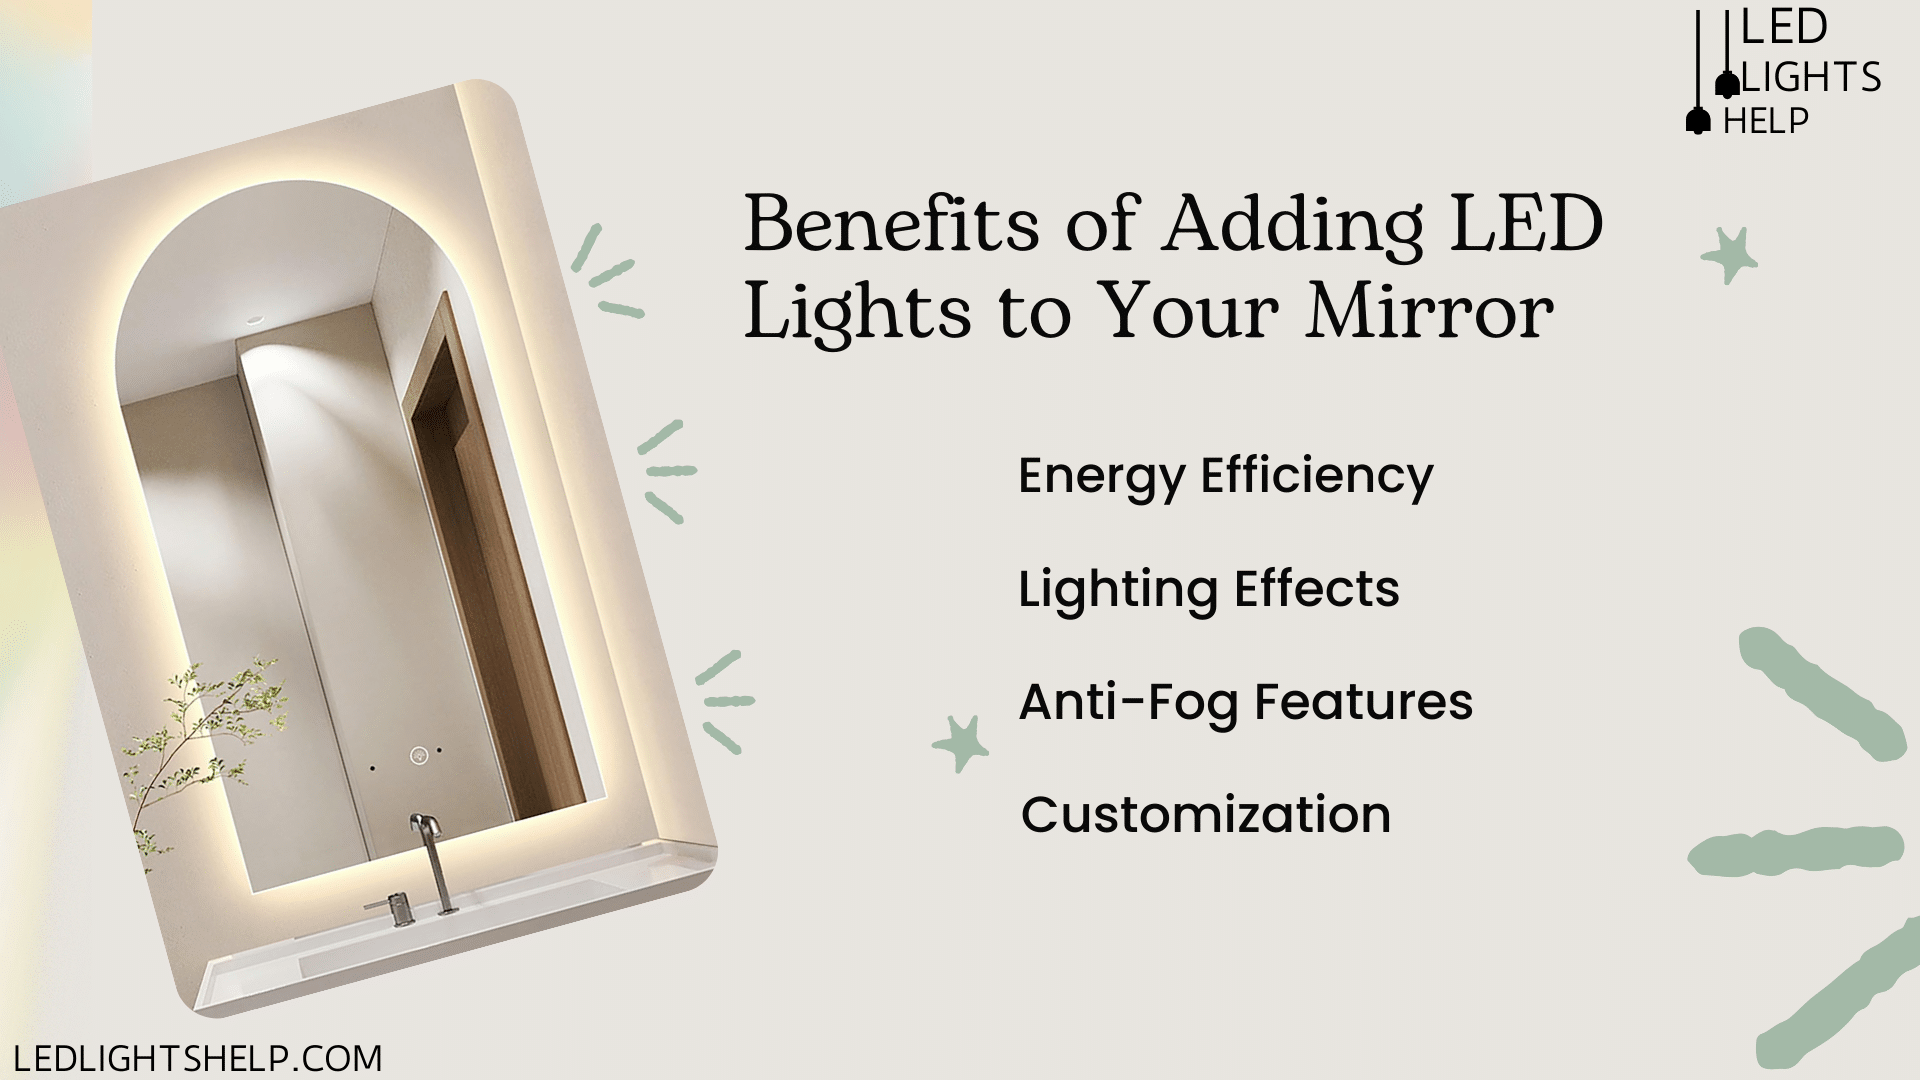
Before we dive into the installation process, let’s look at the key benefits of having mirror with LED strip lights:
Energy Efficiency: LED strip lighting consumes less power compared to traditional light sources, saving on energy bills while offering excellent brightness.
Lighting Effects: By installing LED strip lights, you can create subtle, diffused illumination that enhances the ambiance of the room.
Anti-Fog Features: Many LED bathroom mirrors include anti-fog features, making them practical in steamy environments like bathrooms.
Customization: Depending on your needs, you can choose between a cool white light for a sleek, modern look or a warmer hue for a cozy feel.
Materials You’ll Need
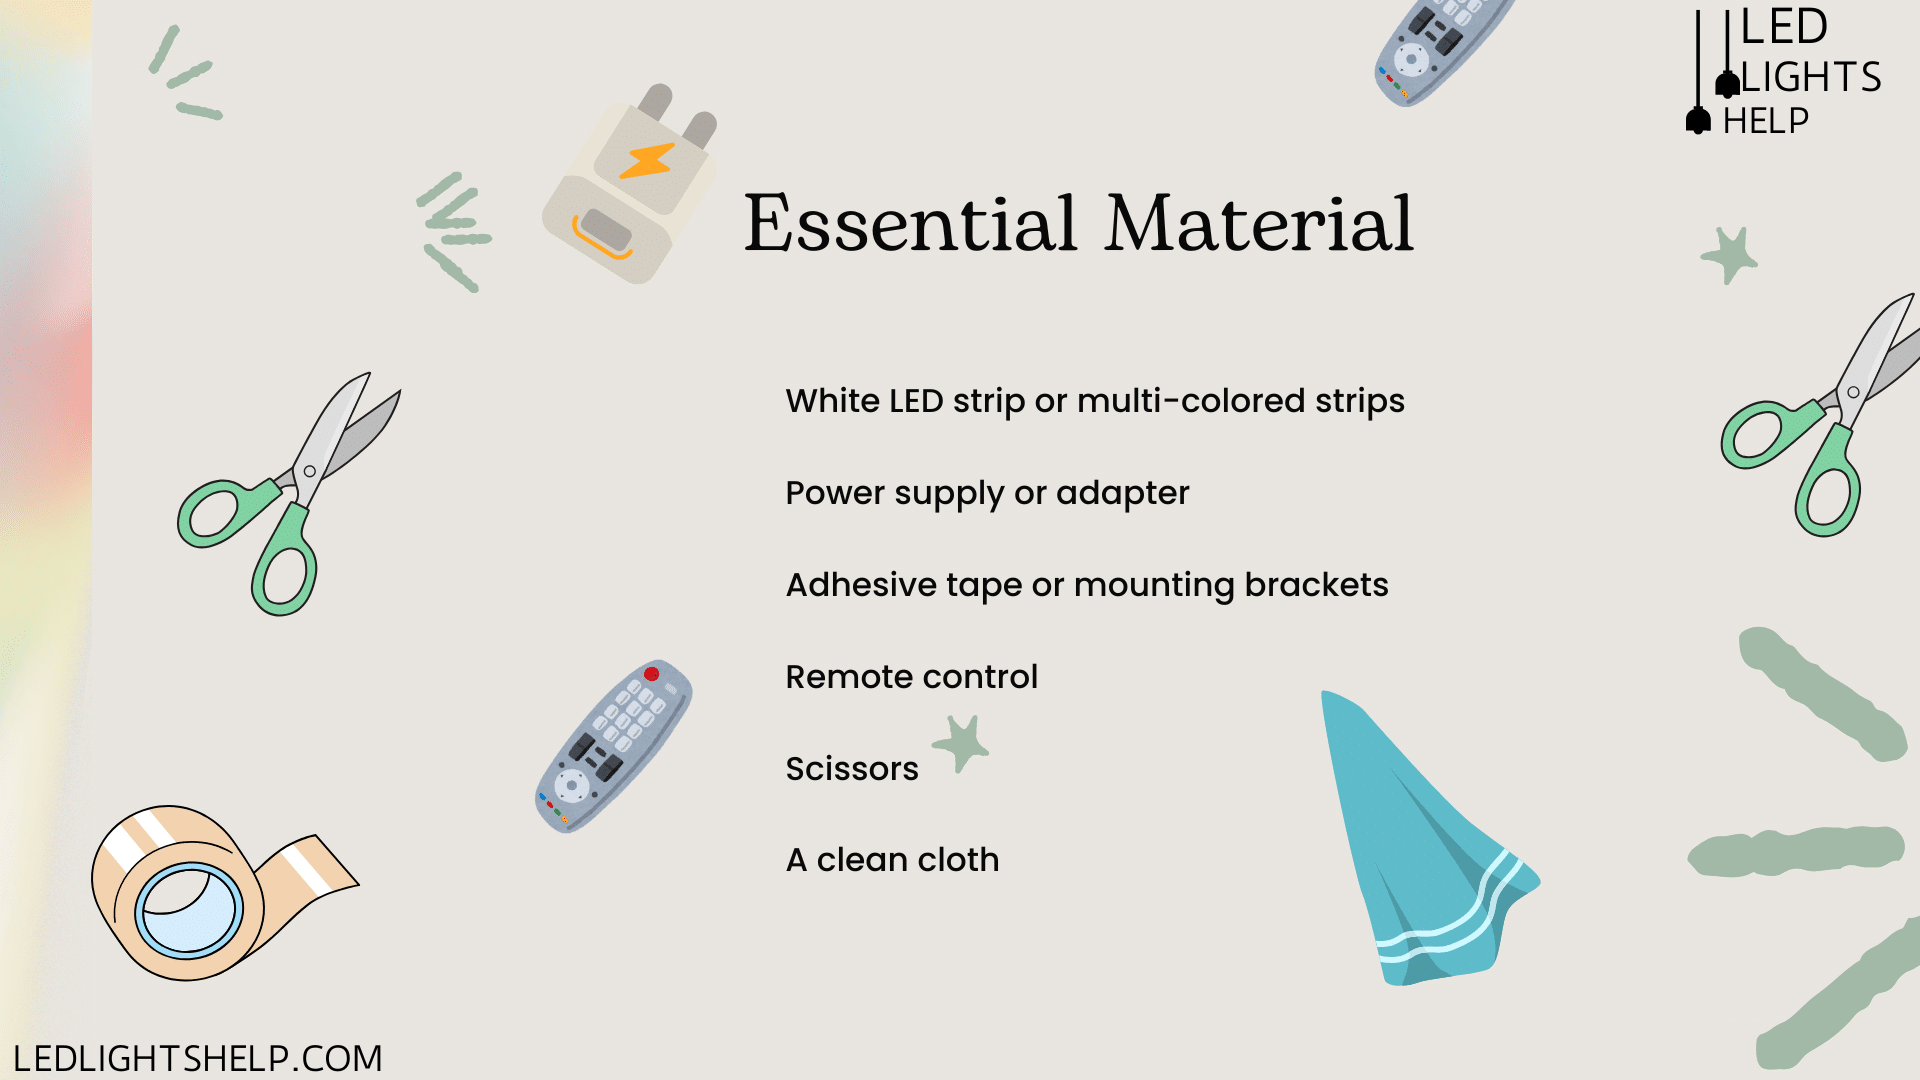
To get started with your guide for mirror LED strip, gather the following materials:
White LED strip or multi-colored strips (depending on your preferences)
Power supply or adapter
Adhesive tape or mounting brackets
Remote control (if your strips are compatible)
Scissors (for cutting the LED strip to size)
A clean cloth for wiping down the surface
Step-by-Step Installation Process
Follow these simple steps to install LED lights behind the mirror for a seamless finish.
Step 1: Choose the Right Type of Mirror
The type of mirror you choose will significantly impact the look and feel of the final result. Options like a rectangular mirror, framed mirror, or backlit mirror work well for this project. Ensure that the mirror is compatible with LED strip lighting and has enough surface area to attach the strips securely.
Step 2: Measure and Clean the Mirror
Measure the perimeter of the mirror to determine how much LED strip you’ll need. If using a framed mirror, measure along the frame.
Clean the back of the mirror thoroughly using a damp cloth to remove dust and grease. A clean surface ensures better adhesion of the LED strip.
Step 3: Cut and Prepare the LED Strip
Cut the LED strip to the measured length. Ensure you cut only at the designated cut marks on the strip to avoid damaging the lights.
If you’re using a white LED strip or any color strip with a remote control, connect the controller and power supply according to the manufacturer’s instructions. 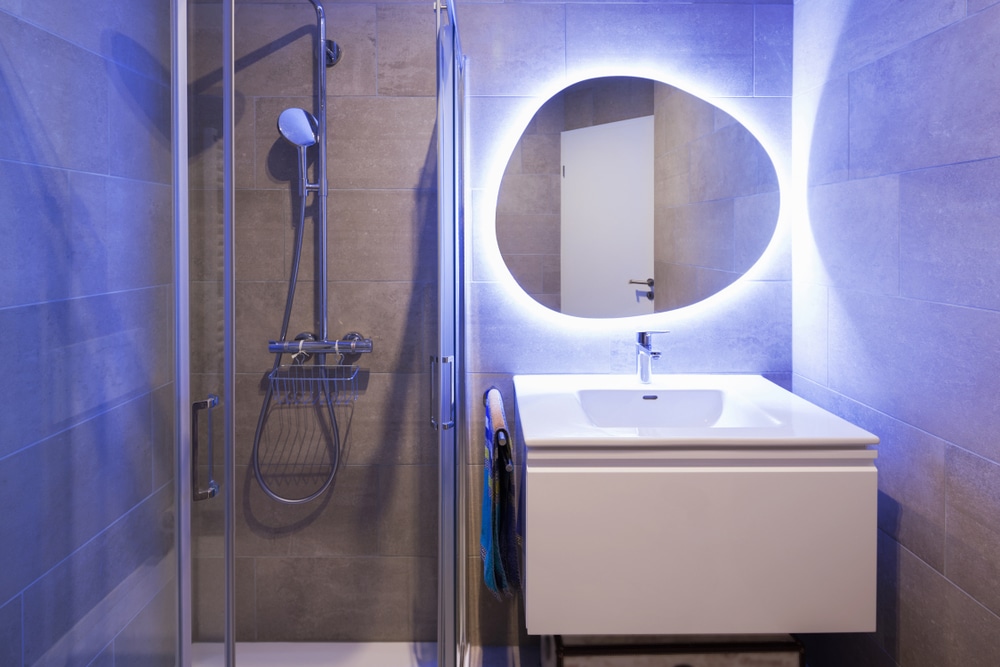
Step 4: Attach the LED Strip
Peel off the adhesive backing of the LED strip and carefully stick it to the back of the mirror. For a mirror light behind, position the strip evenly to ensure consistent lighting.
If your LED strip mirror has mounting brackets, use them to secure the strip in place.
Step 5: Connect to Power
Plug the LED strip into the power adapter and connect it to a nearby outlet. If your strip features a remote control, sync the strip with the remote for easy operation. Test the lights to ensure they’re working correctly.
Step 6: Adjust Lighting Effects
With the lights installed, adjust the lighting effects to suit your preferences. Whether you opt for a bright cool white or a warmer tone, you can easily create the desired ambiance for your space. 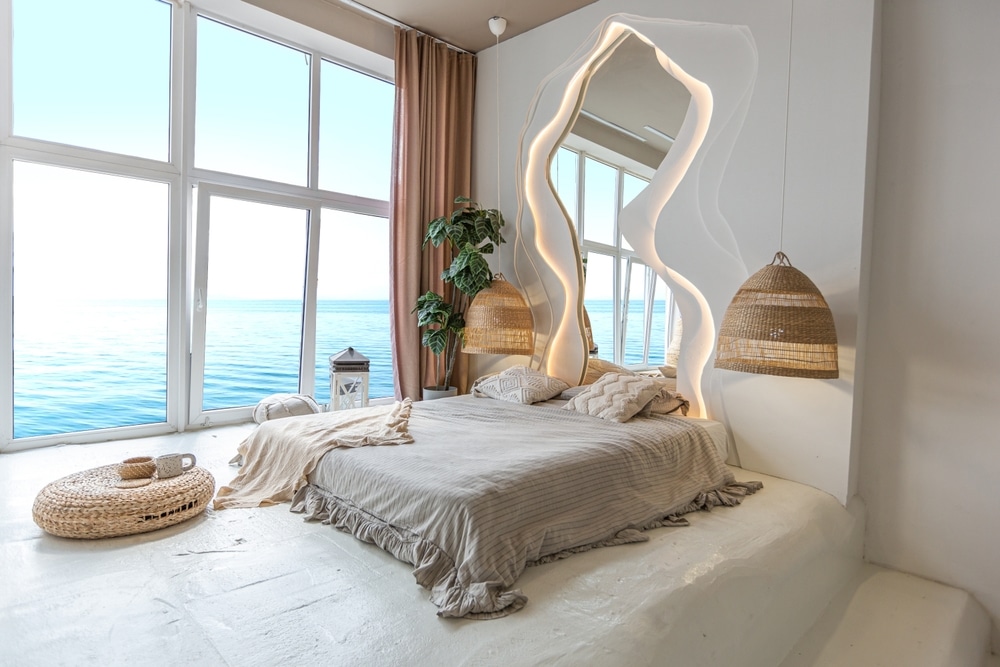
Tips for Enhancing Small Bathrooms with LED Mirrors
For small bathrooms, installing LED bathroom mirrors can maximize both function and style. Mirrors with integrated Bluetooth speakers or anti-fog features are ideal for compact spaces, as they add multiple functionalities without taking up additional room.
By opting for a mirror with LED strip lights, you can add a touch of elegance and utility, making even the smallest bathrooms feel luxurious and modern.
How to Add LED Lights to Back of Mirror
When learning how to add LED lights to back of mirror, the key is to focus on placement. Evenly distribute the LED strip to avoid dark spots or uneven lighting. This ensures a uniform glow and highlights the mirrors offer an ideal way to brighten your space.
Types of LED Mirrors to Consider
Depending on the type of mirror you’re working with, the approach may vary slightly:
Framed Mirror: These mirrors are perfect for hiding the LED strip within the frame, giving a polished look.
Rectangular Mirror: With its clean lines, this mirror type works well with cool white strips for a sleek finish.
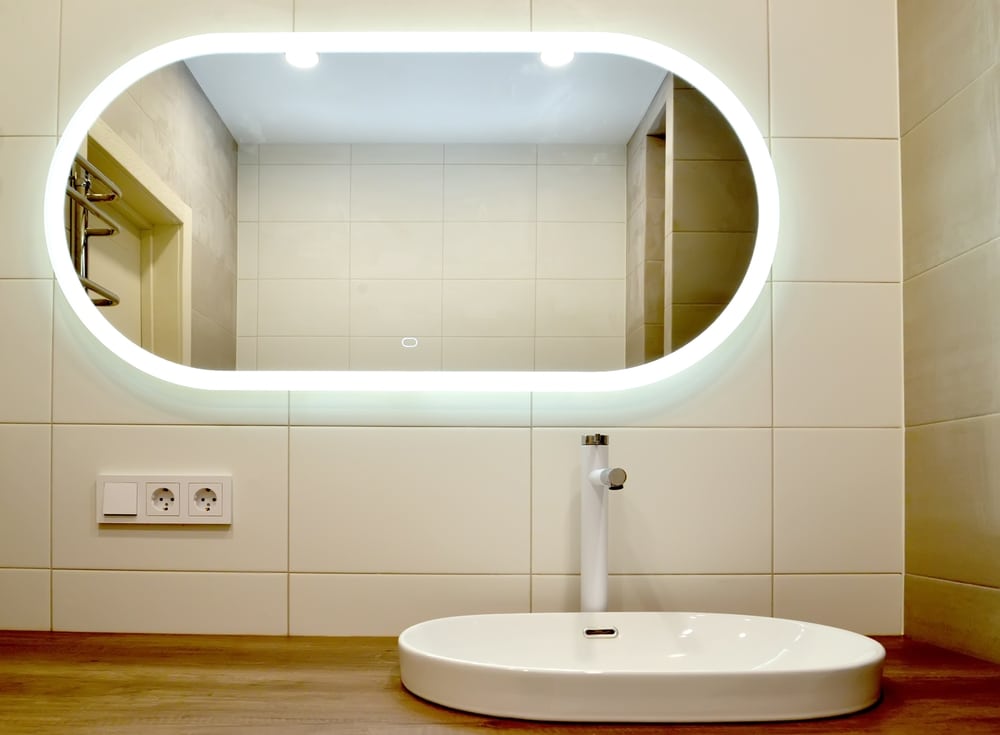
Backlit Mirror: This option comes pre-designed for light behind mirror effects, making the installation process even simpler.
Final Touches
Once your mirror with LED strip lights is ready, take a moment to step back and admire the transformation. The subtle glow from the light behind mirror will create a sophisticated ambiance, whether in a bathroom, bedroom, or vanity area.
For added convenience, explore mirrors with advanced features such as:
Bluetooth speakers for playing music or receiving calls
Anti-fog features to keep the mirror clear after hot showers
Adjustable cool white or warm light settings for tailored illumination
Maintenance Tips for Your LED Mirror
To keep your LED strip mirror in top condition
Regularly clean the mirror surface and LED strip with a soft cloth to remove dust and smudges.
Check the adhesive or brackets periodically to ensure the strip remains securely attached.
Replace the LED strip or power supply if they show signs of wear over time.
Conclusion
Installing LED lights behind mirror is a simple yet impactful way to elevate your home’s decor. By following this easy guide for mirror LED strip, you can achieve a professional and stylish finish that adds both beauty and functionality. From enhancing small bathrooms to creating dramatic lighting effects, the possibilities with LED strip lighting are endless. So, whether you’re transforming a rectangular mirror, framed mirror, or backlit mirror, let this guide help you bring your vision to life. Enjoy the energy-efficient glow and modern elegance of your newly illuminated mirror!


